

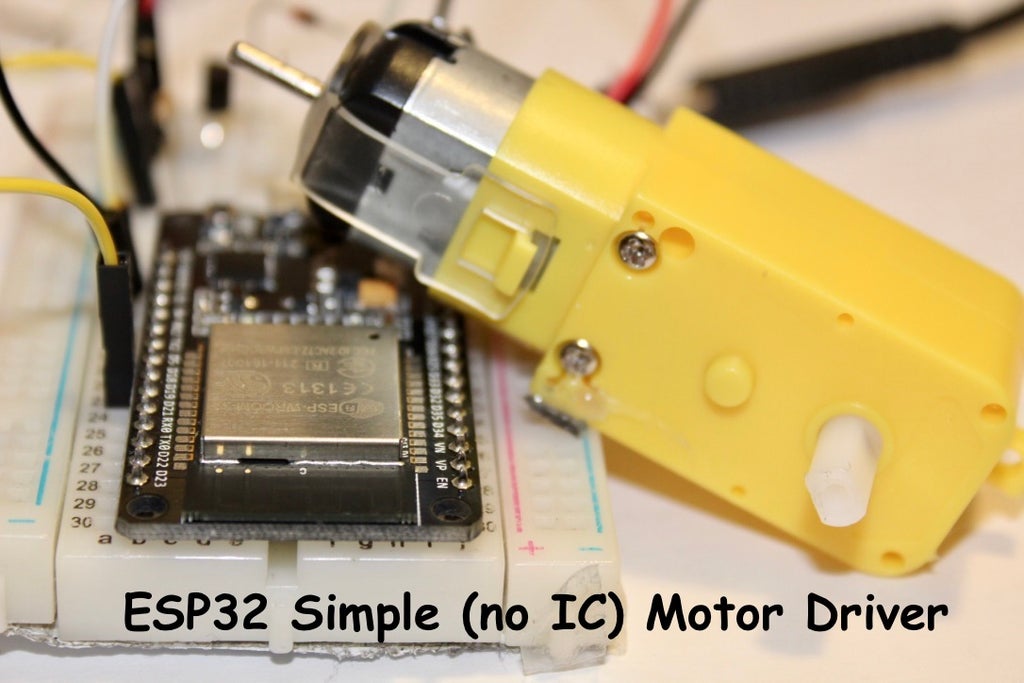
This is the simplest motor driver that could possibly be built using only one NPN transistor, which is controlled and driven by the ESP32 micro controller board.
Step 1: Materials and Tools
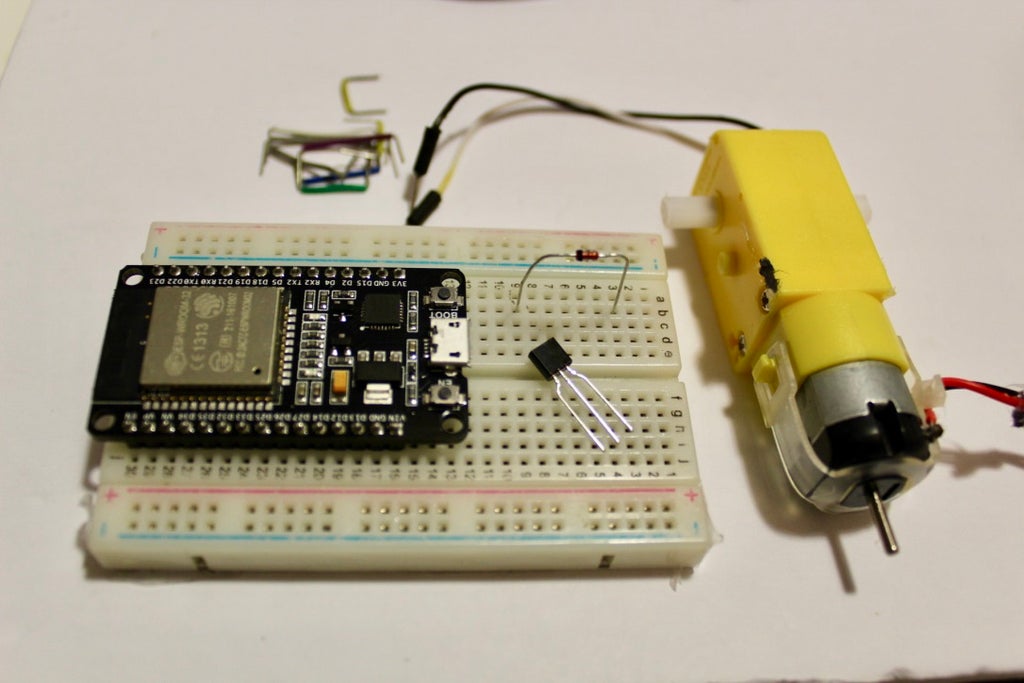
- ESP32 Microcontroller
- DC motor
- NPN Transistor – BC337
- 100Ω resistor
- Diode – N4148 General Purpose
- Breadboard wires
- Breadboard’
- 2x jumper wire
Step 2: Connecting the Signal
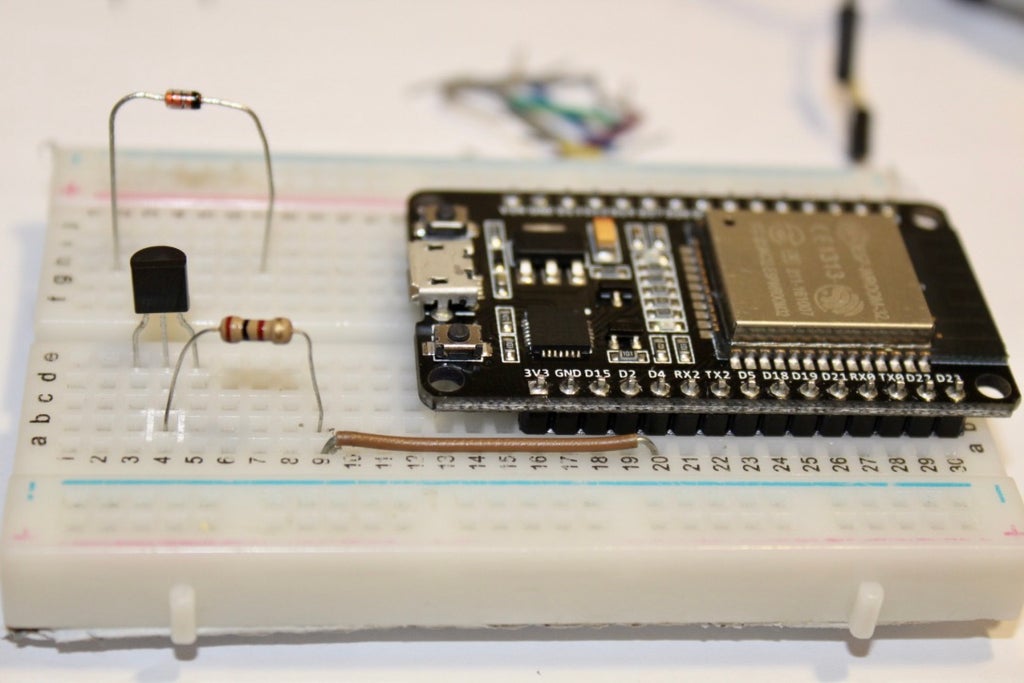
Connect a 100Ω resistor to the base (middle) pin of the NPN transistor to protect the EPS32 board from overvoltage, then connect it in series to D5
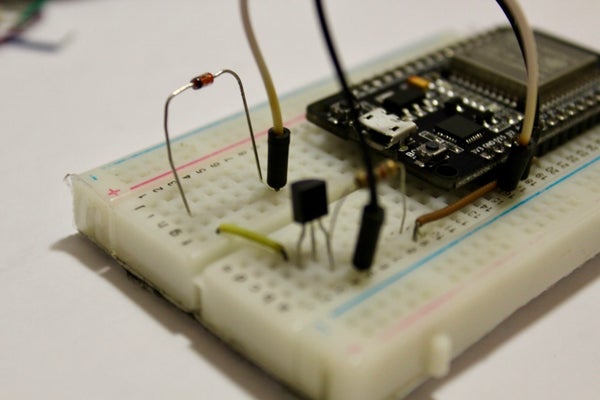
- Connect the collector (right) pin to ground.
- Connect the emitter (left) pin to the positive pin of the general purpose diode.
- Connect the negative pin of the general purpose diode to 3.3V.
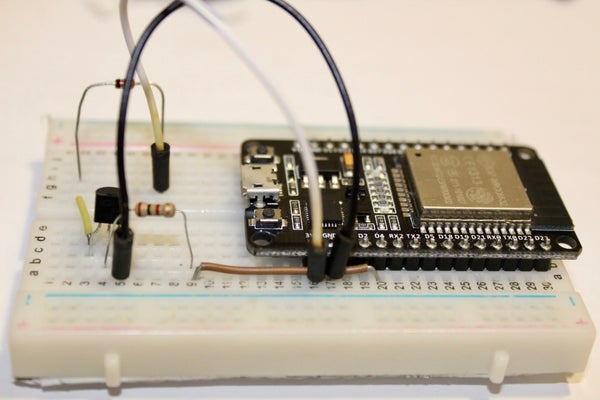
Step 4: Connect the DC Motor
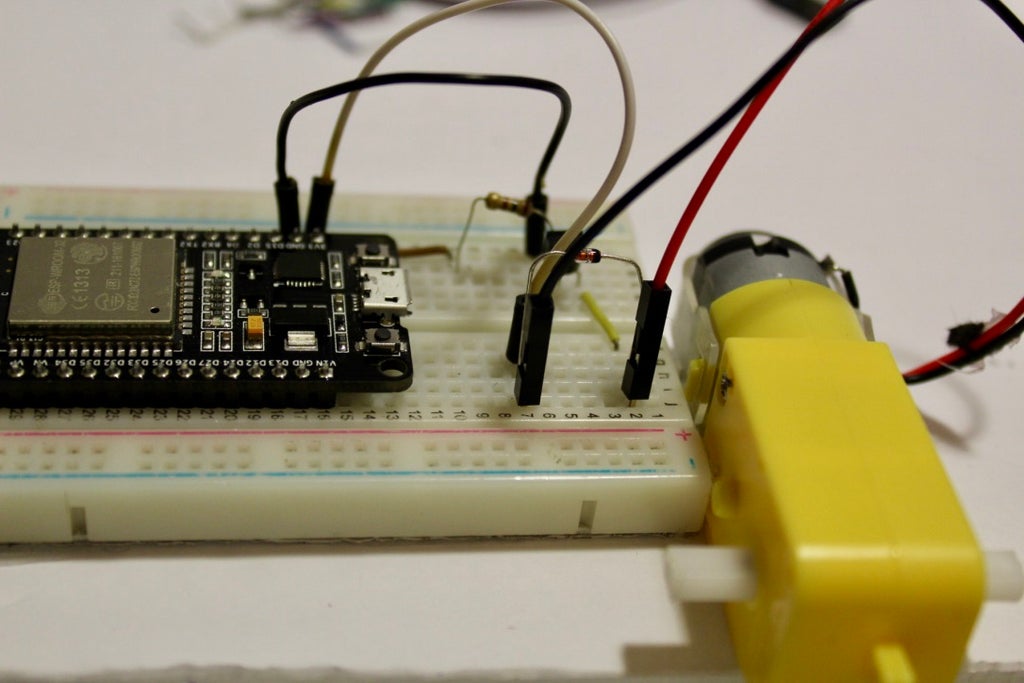
- Connect either one of the pins to either end of the diode.
Order does not matter, it only changes rotation which is arbitrary and can be coded as active high or active low.
Step 5: Coding
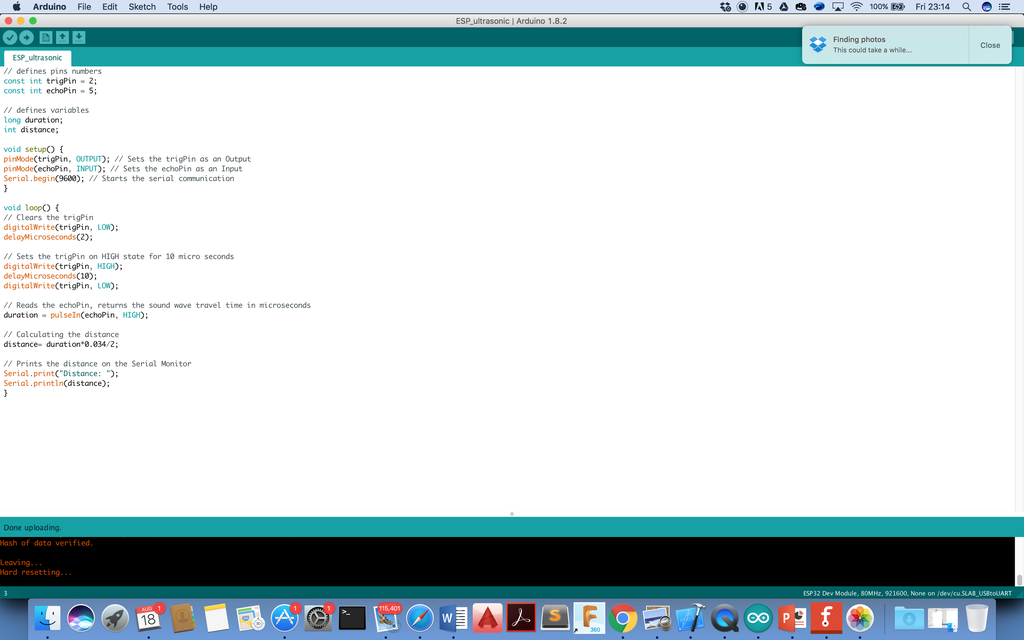
Choose ESP32 as the board under tools, and plug it in. Choose the corresponding USB port that is labeled ESP32, then upload the following code to the board.
const int motorPin = 5;
void setup()
{
  //set motorPin as OUTPUT
  pinMode(motorPin, OUTPUT);
}
void loop()
{
   motorOnThenOff();
}
// This function turns the motor on and off like the blinking LED.
// Try different values to affect the timing.
void motorOnThenOff()
{
  // milliseconds to turn the motor on
  int onTime = 3000;
  // milliseconds to turn the motor off
  int offTime = 3000;
  // turn the motor on (full speed)
  digitalWrite(motorPin, HIGH);
  // delay for onTime milliseconds
  delay(onTime);
  // turn the motor off
  digitalWrite(motorPin, LOW);
  // delay for offTime milliseconds
  delay(offTime);
}